How to Change a Photo Background with AI — Natural Results
Change a photo background with AI while keeping the subject recognizable. Learn how to choose scenes and check edges, light, shadows, and scale.

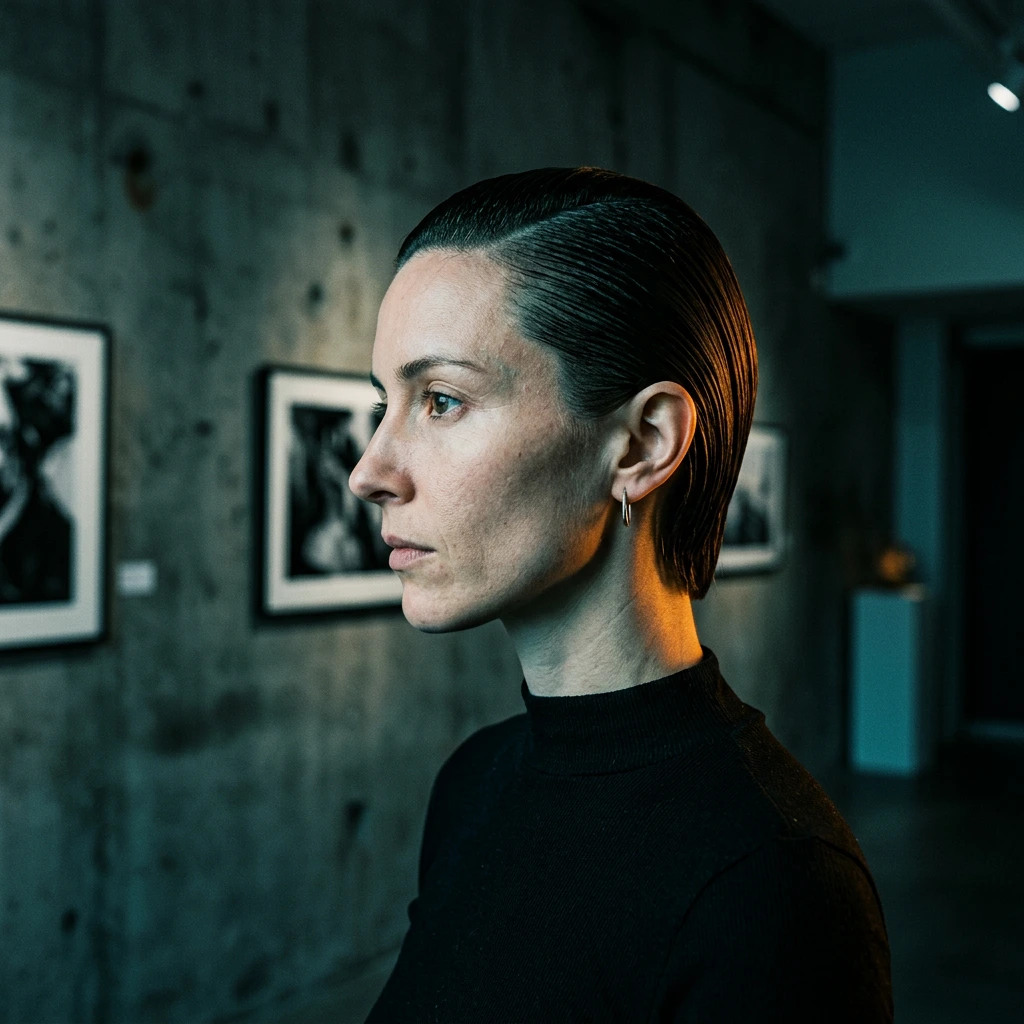
Disclosure: This tutorial uses Change Photo Background, part of an all-in-one AI creative studio, as the demonstration tool. The workflow reflects the app as available in July 2026, and the interface may change.
A good portrait or product can be held back by the room around it. A cluttered counter makes a catalog image feel inconsistent, an informal wall weakens a professional headshot, and a background with the wrong color can fight the subject in an advertisement. An AI background changer addresses that specific problem: keep the useful subject and rebuild the environment.
The difficult part is not asking for a prettier scene. It is making the new scene agree with the existing photograph. Camera height, subject scale, light direction, edge softness, reflections, and contact shadows all have to support the same visual story. This guide shows how to choose a suitable source, select one of the current scene directions, and review the result before it goes into a profile, listing, social post, or campaign.
TL;DR
- Upload one sharp portrait or product image with a recognizable subject and readable edges.
- Choose a background direction that fits the deliverable: Premium Product, Clean White, Professional Office, or Cozy Cafe.
- Match the new scene to the source camera angle, subject scale, and light direction.
- Inspect identity, labels, product geometry, hair, edges, shadows, reflections, and depth before downloading.
- Use background removal instead when you need a transparent subject-only cutout rather than a finished scene.
The best result is not the most dramatic background. It is the composite that still looks like the same subject photographed in a plausible new environment.
1. What You'll Get from an AI Background Changer
An AI background changer replaces the environment behind a person, product, or object while trying to keep the original subject recognizable. Unlike background removal, it creates a finished new scene. A convincing result preserves identity, shape, and crop while matching the new horizon, light direction, shadows, and reflections to the source photo.
The current Vofy app focuses on portraits and products, with four directions: premium retail, clean studio, modern office, and warm cafe or lifestyle. Generative editing can still alter labels, hair, jewelry, edges, or reflections, so review both the subject and the composite before publishing.
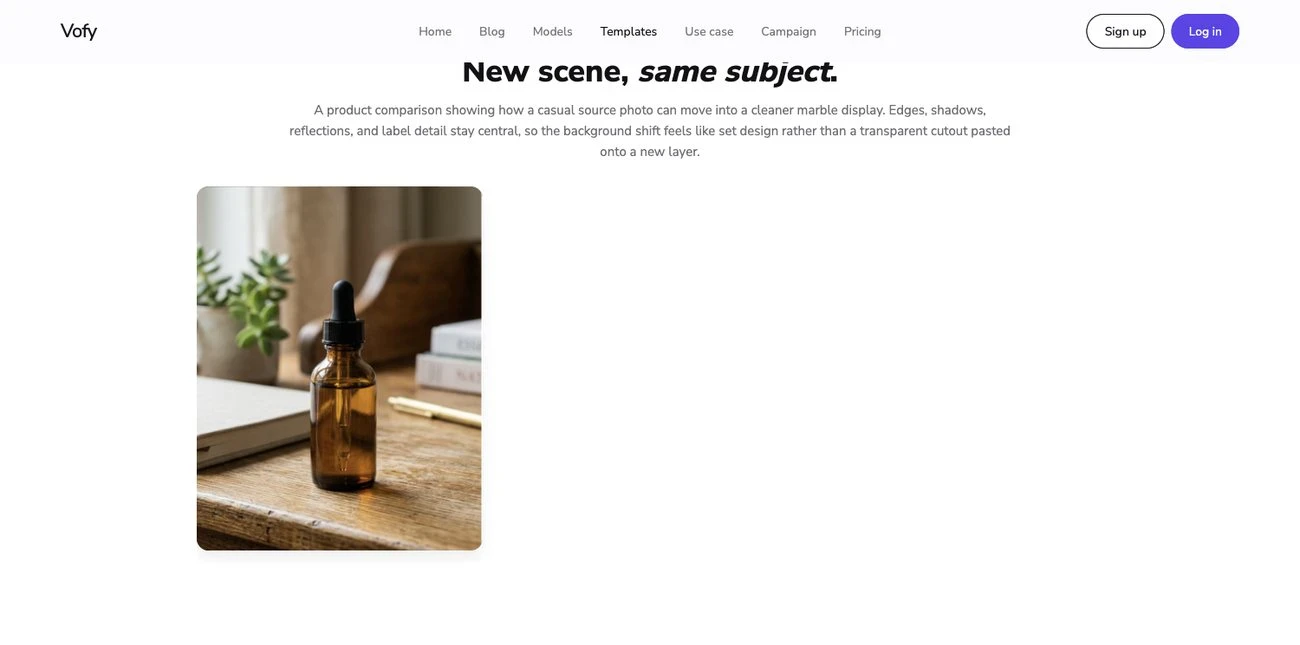
The example below keeps the skincare product but replaces a casual source surface with a more controlled marble display.

Before: the original product photo and environment.
After: the AI-generated background replacement result.
2. Before You Start: Keep a Subject Worth Preserving
Start with one sharp, usable subject. Portraits need a clear face, hairline, shoulders, pose, and clothing; products need visible shape, labels, color, and packaging edges. Crowds, overlap, motion blur, clipped subjects, and reflective objects make preservation harder. The app can replace the environment, but it cannot reliably recover missing focus or detail.
Choose the scene for the final use: white or light gray for catalogs, an office for professional profiles, a cafe for lifestyle portraits, or a premium display for ecommerce and advertising.
Use only photos you own or have permission to edit. Commercial replacements must not misrepresent the product, included accessories, scale, location, certification, or performance. Review the FTC's truth-in-advertising guidance and channel-specific rules such as Google Merchant Center's image requirements before publishing.
3. How to Change a Photo Background with Vofy in 3 Steps
The current app accepts one image and provides four scene directions. You can focus on the photo and the intended use instead of writing a full background-replacement prompt from scratch.
3.1 Upload one clear portrait or product photo
Open Change Photo Background and upload a photo with one obvious subject. Before generating, record the details that must remain stable: facial features, hairstyle, skin tone, clothing, pose, product shape, label layout, camera angle, crop, and the original direction of light.
Inspect difficult edges at full size. Hair, glass, fabric transparency, narrow straps, reflective caps, and objects that touch the frame deserve special attention. Also notice where the subject meets the floor or surface. That contact area determines whether the new scene will need a soft standing shadow, a tabletop reflection, or a different kind of grounding.
3.2 Choose the background direction
Use Premium Product for skincare, beauty, and retail imagery that benefits from marble, vanity, or polished display cues. Choose Clean White for a simple white or light-gray studio background with minimal distraction. Use Professional Office for work-facing portraits and team profiles, or Cozy Cafe for creator images, social cards, and warmer lifestyle presentation.
The preset should fit the source as well as the destination. A bright portrait shot near a window can transition naturally into a bright office or cafe. Moving the same portrait into a dark set may require more extensive relighting and can make the original highlights feel inconsistent. Likewise, a product photographed from slightly above should sit on a surface seen from a compatible camera height rather than against a low, horizon-heavy scene.
Start with the simplest background that solves the problem. Extra props, strong patterns, dramatic depth, and complex architecture give the model more opportunities to compete with the subject or create perspective errors. A clean scene is often easier to adapt across ads and crops than a visually busy one.
3.3 Generate and inspect the composite
Generate the image and allow processing to complete; timing can vary with service load and image settings. Compare the result with the original at the same size. First confirm that the person or product remains recognizable. Then inspect the transition between subject and background, including hair, shoulders, transparent materials, packaging edges, labels, and any internal openings.
Next, check the scene as a photograph. Trace the direction of highlights and cast shadows. Confirm that the subject is not floating, sinking into the surface, or standing at an implausible scale. Look for reflections that contradict the new room, depth blur that cuts through the subject, and background lines that bend around the outline.
Download only when both the subject and the composite pass review. If identity or product geometry changes, return to the original source and try a simpler direction. If the scene feels artificial, reduce visual complexity before attempting more dramatic styling.
4. How to Make the New Background Look Believable
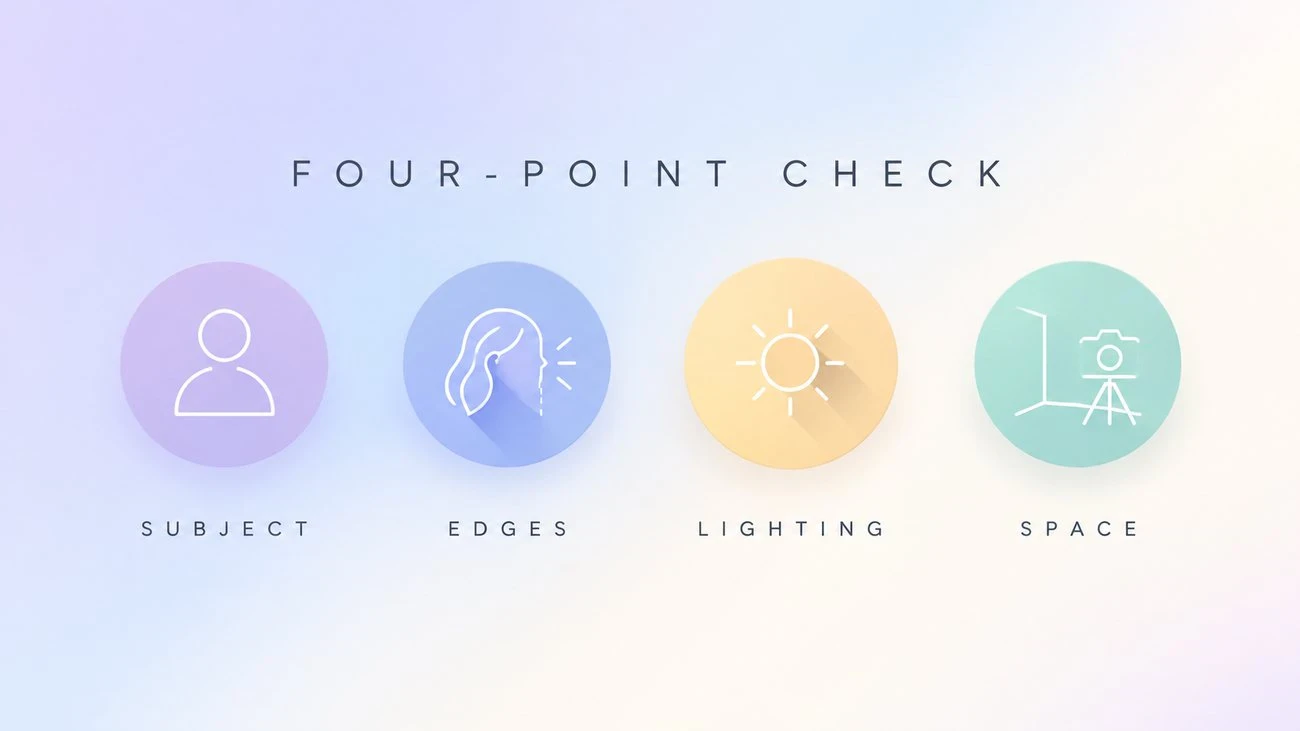
Believability comes from consistency. Review the composite in four passes:
- Subject: Compare identity, clothing, product shape, color, labels, and crop with the source.
- Edges: Check hair, glass, fabric, handles, and small gaps for halos or clipping.
- Lighting: Confirm that highlights, shadows, and color temperature agree.
- Space: Check camera height, depth, scale, contact shadows, reflections, and props.
Protect the subject first: a polished scene still fails if the face, label, or product shape changes. Match the background temperature without distorting skin tone or product color, and keep contact shadows subtle and consistent with the light direction. If shadows are the main problem, use the guide to removing shadows from photos instead.
5. Common Background Replacement Mistakes
One frequent mistake is selecting a scene because it looks attractive in isolation. The replacement has to fit the subject's viewpoint and purpose. A low-angle office behind an eye-level portrait, a wide marble platform beneath a tightly cropped bottle, or a heavily blurred cafe around sharply rendered table details can make the composite feel assembled rather than photographed.
Other common failures include:
- Starting with a subject that is blurred, clipped, or heavily obstructed.
- Choosing a complex background before testing a simple one.
- Ignoring changed facial details, label text, logos, or product geometry.
- Accepting mismatched highlights, shadow direction, or color temperature.
- Letting depth blur erase hair, shoulders, handles, or transparent edges.
- Adding props that imply features or accessories the product does not include.
- Repeatedly editing a generated result instead of returning to the original.
The last point matters because each additional generation can introduce more drift. Keep the source as the visual reference and compare every candidate against it. If a result needs local repair after the background swap, a broader workflow such as editing images with GPT Image 2 may be more appropriate than asking the background changer to solve unrelated details.
Artificial-looking results often come from several small inconsistencies rather than one obvious error. The photorealistic AI image troubleshooting guide provides a deeper diagnostic framework for lighting, texture, geometry, and scene logic.
6. Background Removal vs. Background Replacement
Use background removal when you need a transparent subject that will be placed into several future layouts. The deliverable is the cutout itself, so edge quality, internal holes, and alpha transparency are the priorities. Products for reusable catalog templates, speaker portraits for presentation slides, and pet stickers are typical examples.
Use background replacement when the deliverable needs a complete scene now. A professional headshot, a cafe portrait, a clean catalog photo, or a premium product display needs the new environment to be generated and integrated. Lighting, shadows, reflections, perspective, and scale become part of the output rather than later design decisions.
Do not combine the two intents into one vague instruction. Decide whether the final file should contain transparent pixels or a finished environment. That answer tells you which app to use and what quality checks matter most.
7. Conclusion
Changing a photo background works best when the source subject is already strong. Start with one clear portrait or product, choose the simplest scene that fits the deliverable, and compare the result with the original before judging the new background on style alone.
The most important warning is to protect the subject before polishing the setting. A scene can look convincing at first glance while quietly changing a face, label, product edge, or reflection. Check identity and accuracy first, then light, shadows, depth, and scale. A replacement is ready only when both halves tell the same visual story.
FAQ
What is the difference between a background changer and a background remover?
A background remover returns a transparent subject-only cutout. A background changer generates a finished new environment around the existing subject and blends edges, light, shadows, depth, and reflections into the composite.
What photos work best for changing the background?
Use one sharp portrait or product photo with a clear subject, visible edges, usable lighting, and a crop you already want to keep. Crowds, strong motion blur, heavy foreground overlap, and clipped subjects are harder to preserve.
Can I use the app to create a white product background?
Yes. The current app includes a Clean White direction for a white or soft light-gray studio-style scene. Review product color, label accuracy, edges, and contact shadows, and confirm that the result meets the image rules of the marketplace where it will appear.
Which background options are available?
As of July 2026, the current prompt options are Premium Product, Clean White, Professional Office, and Cozy Cafe. Check the live app for the latest interface and available directions.
How do I keep the same face or product?
Start with a sharp source and compare the result with it at the same size. Check facial landmarks, hair, skin tone, clothing, product shape, labels, packaging details, crop, and camera angle. Regenerate from the original with a simpler scene if those details drift.
Can I use an AI-generated background in advertising?
You may use authorized images subject to the rules that apply to the product, platform, and market. Do not create a deceptive claim about scale, location, included accessories, performance, certification, or other material facts, and label AI-edited media when the platform or context requires it.
Related Reading
Try it yourself on Vofy
Generate AI images and videos with the best models - all in one studio.
Discover More

 Ryan Mitchell•
How to Remove Shadows From Photos: Quick Guide (2026)
Remove unwanted shadows from photos instantly with AI. Fix harsh lighting, clean up product images, and improve portrait quality without complex editing software.
 Ryan Mitchell•
How to Edit Existing Images with GPT Image 2
Learn how to edit existing images with GPT Image 2 for background changes, object cleanup, layout fixes, and fast marketing-ready asset variations.
 Ryan Mitchell•
Why AI Images Still Look Fake — and How to Fix It
Master advanced Nano Banana 2 techniques to fix fake-looking AI images. Learn the technical reasons behind common artifacts, physics-based solutions, and edge cases that separate amateur from professional photorealistic results.