AI Waist Slimmer: Edit Photos Without Warped Backgrounds
Use an AI waist slimmer to refine photos naturally. Follow a focused workflow, choose better source images, and catch warped backgrounds before saving.

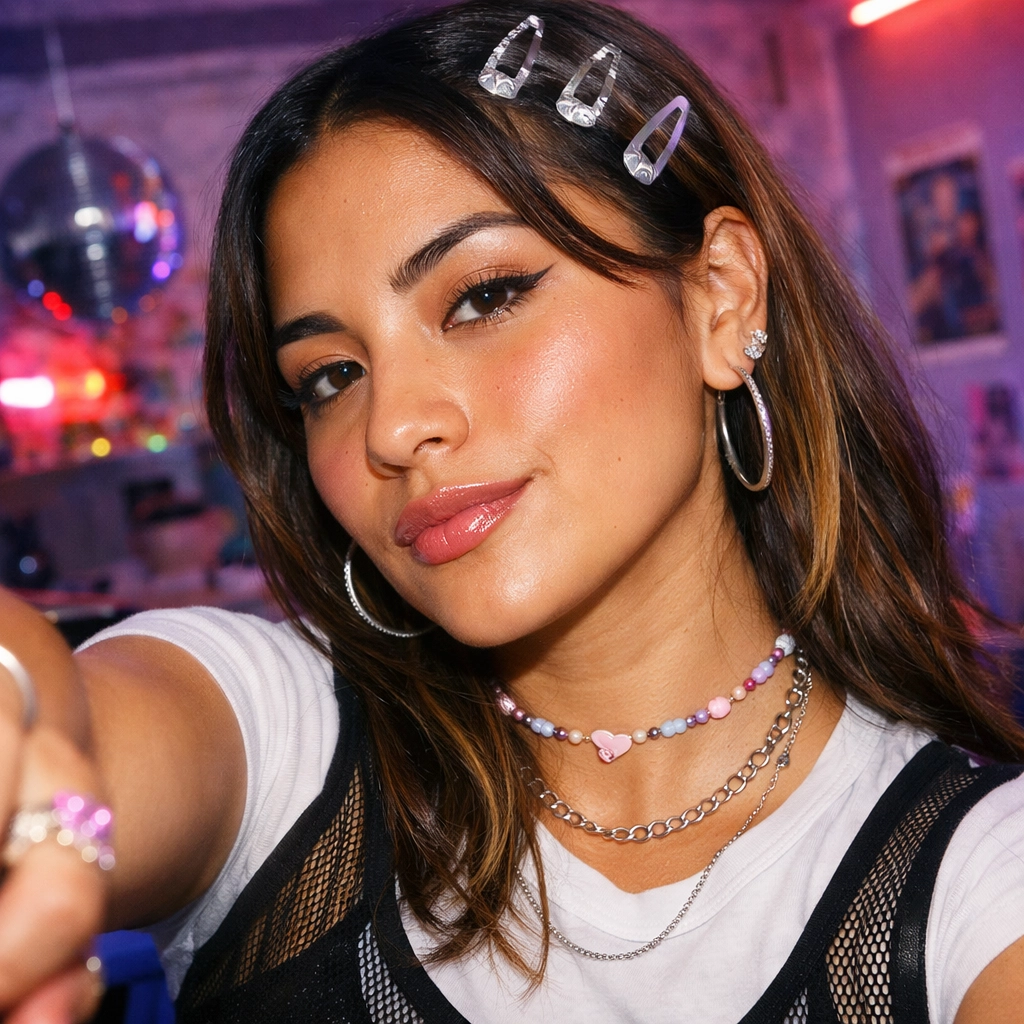
Disclosure: This tutorial uses Vofy as the demonstration tool. The workflow reflects Waist Slimmer as available in July 2026.
The Waist Slimmer edits one full-body or three-quarter photo with a fixed waist-slimming direction. The useful part is not making the biggest change. It is getting a result that keeps the same person, outfit, pose, and background.
TL;DR
- Upload a sharp photo with the waist, arms, clothing edges, and nearby background visible.
- Review the model, aspect ratio, and resolution; the prompt direction is fixed.
- Check the body outline, clothing, and background before downloading.
- Use only your own or authorized photos. The result is an AI preview, not evidence of weight loss or fitness progress.
1. What the App Does
An AI waist slimmer makes the waistline appear narrower while trying to preserve identity, pose, clothing, lighting, and background. It works best when the original photo is already usable and needs one focused adjustment.
Waist Slimmer uses the fixed direction 'tiny waist, fit body'. It does not provide named waist styles or exact measurement controls. If you need to edit several body areas independently, use a broader body editor instead.
The example below shows what to compare. Look at the dress seams, arm position, lighting, and background as well as the waist.

AI-generated app example. Compare the dress seams, arm position, lighting, and background alongside the waist.
2. Choose a Suitable Source Photo
Use a sharp full-body or three-quarter image where the waist, hips, ribs, arms, and clothing edges are visible. Straight or lightly angled poses are easier to edit than strongly twisted poses. Even lighting and a simple background reduce ambiguity.
Avoid photos where a bag, crossed arm, oversized coat, or heavy pattern hides the waist. Low resolution, motion blur, curved mirrors, and extreme wide-angle distortion also make errors more likely.
Use only photos you own or have permission to edit. Do not present the result as a real body change, medical outcome, fitness progress, weight-loss proof, or identity evidence. Do not edit another person's body without consent.
3. How to Use Waist Slimmer
3.1 Upload One Photo
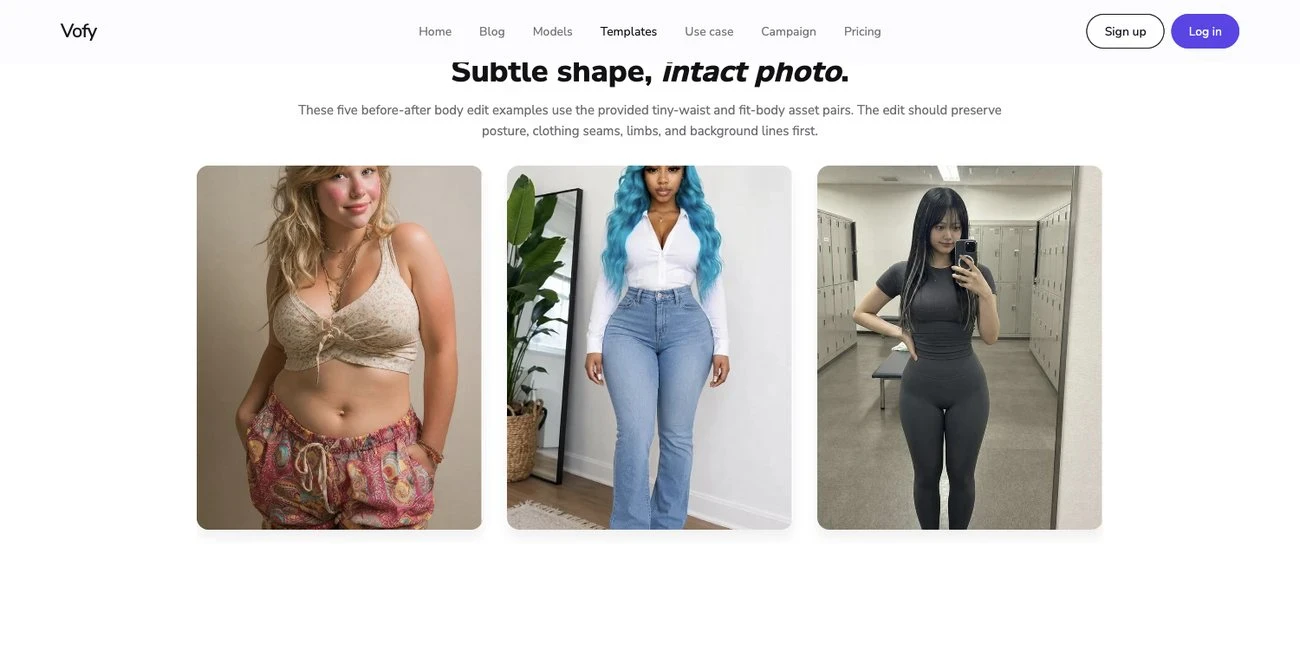
Open Waist Slimmer and upload a full-body or three-quarter image. Before generating, note any hands, belts, seams, mirrors, tiles, or doorframes near the waist. You will use them to check the result.
3.2 Review the Settings
The app uses one fixed prompt direction. Review the selected model, aspect ratio, and resolution. Keep the aspect ratio close to the original photo so the framing remains easy to compare.
There is no numeric waist-width control. If the first result is too strong, regenerate from the original instead of repeatedly editing an already generated image.
3.3 Generate and Inspect
Compare the result with the source at the same size. Check whether the torso still connects naturally from ribs to hips and whether the pose and identity remain stable.
Then inspect clothing seams, belts, patterns, hands, shadows, mirrors, walls, and other straight lines. Regenerate if nearby objects bend or if the body proportions look abrupt. Download only after the whole frame looks consistent.
4. The Three-Part Quality Check
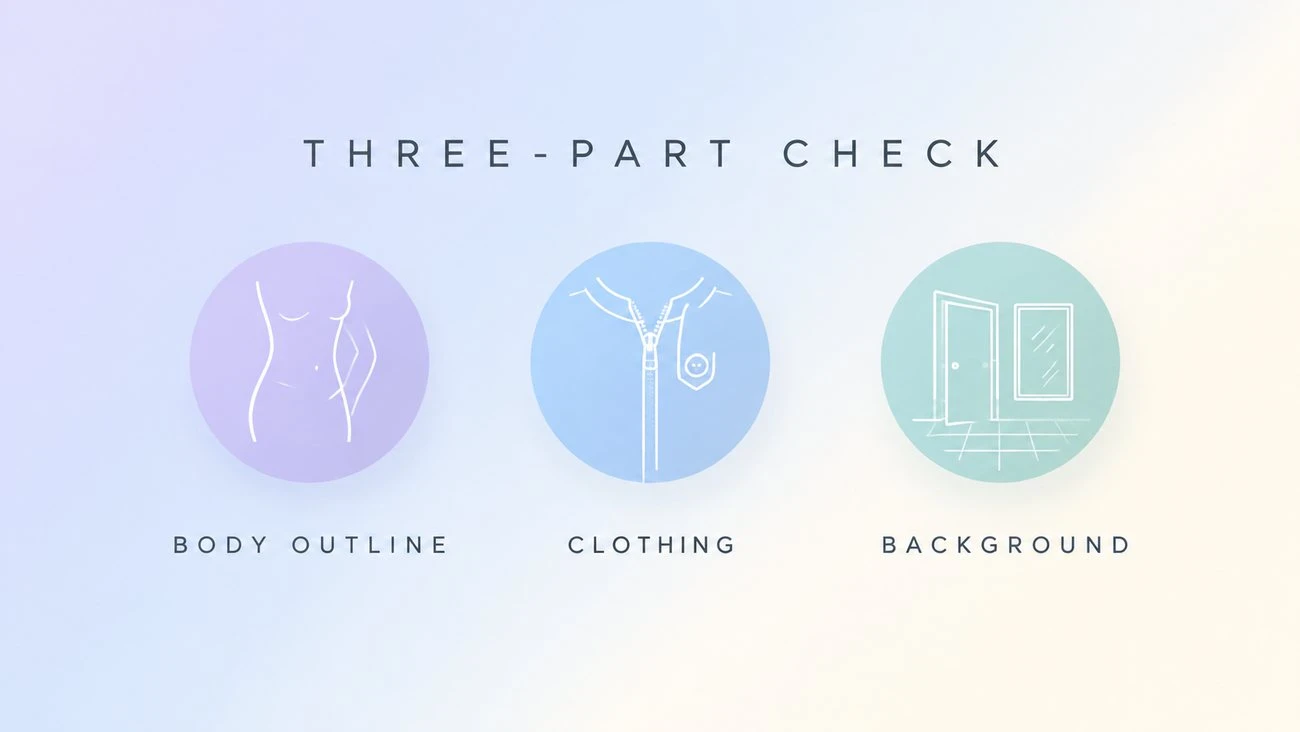
Use these three checks instead of looking only at waist size:
- Body outline: Look for sudden pinches, duplicated edges, uneven ribs, or an unnatural transition into the hips.
- Clothing: Follow seams, waistbands, belts, zippers, buttons, and fabric patterns across the edited area.
- Background: Check doorframes, mirrors, tiles, shelves, railings, and furniture for bending or stretching.
Inspect the full-resolution result first, then preview it at the size you plan to post. Some small texture errors disappear when reduced, but distorted silhouettes and straight lines often remain obvious.
5. Common Mistakes
- Uploading a crop that hides the hips or ribs.
- Using a photo where arms, bags, or loose clothing cover the waist.
- Expecting exact measurement control from the fixed prompt.
- Checking the waist while ignoring clothing and background distortion.
- Editing an AI result again instead of returning to the original.
- Describing the image as a real health, fitness, or weight-loss result.
If repeated generations fail, use a clearer photo or reshoot. A better camera angle and cleaner pose are often more reliable than forcing an unsuitable source image.
6. When to Use Another Tool
Use a general editor when you need separate controls for the waist, arms, legs, posture, or adjustment intensity. The Kaze AI Body Editor and BeautyPlus Body Editor are broader alternatives.
For a clothing change, use the AI swimsuit try-on guide. For facial cleanup without changing the silhouette, see the AI skin enhancer guide.
7. Conclusion
A useful waist edit should still look like the original photograph. Start with a clear, authorized image, keep the framing stable, and check the body, clothing, and background before saving. If the surrounding image breaks, regenerate or return to the original.
FAQ
What photo works best?
Use a sharp full-body or three-quarter photo with a visible waist, clear clothing edges, even lighting, and enough background to check for distortion.
Can I control how much slimmer the waist looks?
The app uses a fixed prompt direction and does not expose a numeric intensity control. Regenerate if the result is stronger than you want.
Will the background stay straight?
Background preservation is a goal, not a guarantee. Always inspect mirrors, walls, tiles, furniture, and other straight lines near the waist.
Is the result proof of weight loss?
No. It is an AI-generated photo preview, not a body measurement, medical evidence, or proof of physical change.
Should creators disclose the edit?
Disclose it whenever the altered image could materially mislead viewers, especially in advertising, fitness content, product claims, or progress comparisons.
Related Reading
Try it yourself on Vofy
Generate AI images and videos with the best models - all in one studio.
Discover More

 Lucas Andersson•
AI Tankini & Swimsuit Try-On: Easy Guide
Learn how to preview a tankini or swap bathing suits on your own photo with AI. Compare styles fast, refine coverage, and get better prompts today.

 Priya Sharma•
AI Skin Enhancer: One-Click Portrait Retouching in 2026
Transform portraits with AI skin enhancement in one click. Choose Soft, Realistic, or Imperfect styles for professional retouching without Photoshop. Perfect for photographers, content creators, and social media.
 Sofia Rodriguez•
AI Pembesar Payudara: Cara Edit Foto yang Terlihat Natural
Panduan memakai AI pembesar payudara untuk mengedit foto orang dewasa yang berpakaian. Tiga langkah, cara menilai hasilnya, dan batas yang perlu diketahui.