Snapchat Baby Filter: Find and Use the Right Lens
Find the Snapchat baby filter people mean, tell a face Lens from a similarly named effect, and use Snapchat’s current camera flow without chasing an outdated tutorial.

If you searched for “Snapchat baby filter,” you probably want the camera effect first. The useful answer is a direct Lens link and a way to tell whether the preview is the face-changing effect you meant. A long list of third-party “download” buttons only makes the search harder.
Start with Snapchat’s public Baby Face Lens page. The page identifies the Lens as Baby Face Lens by Snapchat and includes the official Snapcode. The public page is a current entry point; I am not calling it the only version or claiming that every account and region shows the same availability.
Disclosure: Vofy appears here only as a separate saved-photo option for readers who already have a portrait. It does not make or operate Snapchat’s native Lens.
Lens and Filter are not interchangeable words
Snapchat’s camera effects are commonly called filters, but Snapchat’s own help pages use Lenses for effects that change the camera view or face. A filter can mean a color or graphic overlay applied after a Snap. When a tutorial says “tap the baby filter,” it may be describing a Lens in casual language.
That distinction explains why an old screenshot may not match your app. Open the camera, look through the Lens carousel, and use the magnifying-glass Lens Explorer when the effect is not visible. Snapchat’s official Lens instructions and Lens Explorer guide are the right references when the buttons move.
It also explains a second confusion that costs people real time: “Baby Face Lens” is not one globally unique object. Snapchat carries many similarly named effects — different authors, different years, and sometimes quite different behaviour. One might be a full face transformation, another a pet Lens, another a prop or sticker effect that happens to use the word. Title alone is not enough to identify the effect you saw.
A quick way to verify the Lens
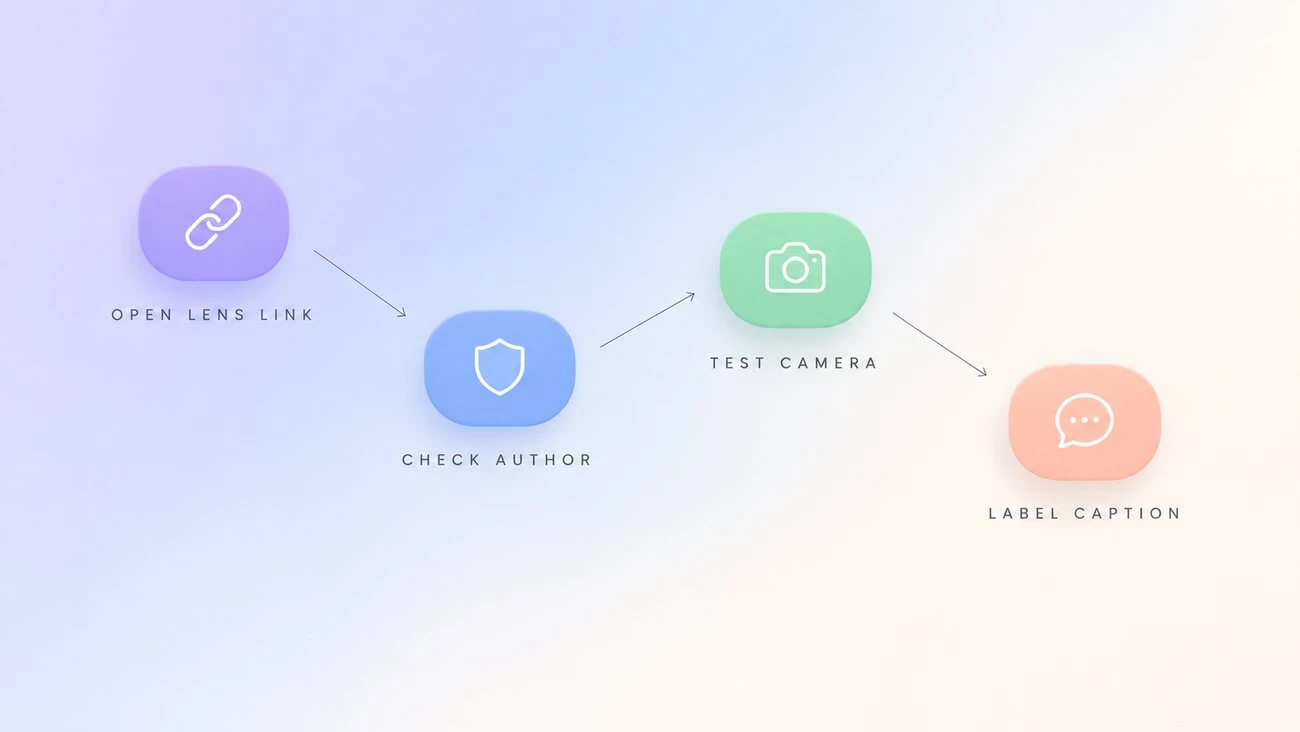
- Open the public Baby Face Lens link on a device with Snapchat installed, or scan its Snapcode inside Snapchat.
- Check the preview and the author. A title containing “Baby” is not enough; some similarly named Lenses are made for pets, props, or a different joke.
- Open the Lens in the camera and look at your face before recording. The intended effect should be legible in the live preview.
- Tap the shutter for a photo or press and hold for a video, following Snapchat’s current camera controls.
- Save or share the Snap using the choices Snapchat presents. Keep the caption clear if the result could be mistaken for a real childhood photo.
The Lens may look different from old examples because creators can update or retire effects. The public link is useful for finding the intended entry, not a guarantee of permanent placement in the carousel.
Why the Lens can disappear from your carousel
This is the single most common reason people arrive at a page like this one, and nothing about it is your fault or your phone’s.
Lenses rotate out of the carousel. The carousel is a rotating selection, not a complete index. A Lens can remain live and reachable by direct link while no longer being surfaced in the app, which makes it look deleted when it is only demoted.
They get updated and re-versioned. A Lens that a creator rebuilds becomes a new version. Old shares and old screenshots still show the previous behaviour, so two people comparing results may be using genuinely different effects under the same name.
Availability is gated by region and device. Roll-outs are staggered, and some Lenses are restricted by market, app build, or handset capability. Two people on the same app version in different countries can see different Lens libraries — and neither is malfunctioning.
Older Lenses can break against newer face tracking. Face Lenses depend on the device face mesh. When the platform updates that pipeline, Lenses built against the previous version can soften, drift, or lose the face entirely. Rather than being fixed, they are often quietly retired.
The practical consequence: planning a post around one specific in-app Lens is a fragile way to work. It is fine for a spontaneous reaction. It is a poor foundation for something you need to produce on a deadline.
If the Baby Face Lens is missing
First, search Lens Explorer by “baby face” and compare the preview and author. If the camera refuses to apply the effect, update Snapchat and retry with a well-lit front-facing face. Snapchat’s Lens troubleshooting page notes that some Lenses do not work on every device; the phone’s age, camera support, or the effect itself can be the cause.
If the link opens a web page but does not hand off to the app, copy the link or scan the Snapcode from another screen. If a friend sends an old Snap, use its visible Lens name as a clue rather than assuming the old effect is still available.
The last case is the one worth stopping on. If the Lens is not in the carousel, not in Lens Explorer under any spelling, and not in the account of someone on the same app version, then it is genuinely out of circulation. More searching will not recover it, because there is nothing left to find.
Live Lens versus saved-photo edit: the actual difference
Most of the frustration with this search comes from treating two different workflows as one. They are not.
| Live Lens | Saved-photo edit | |
|---|---|---|
| Input | Your camera, in real time | A portrait you already have |
| Output | A photo or video Snap | A still image file |
| Depends on | The Lens staying available in your account and region | Nothing in the app; it runs on the uploaded image |
| Best for | A spontaneous reaction, filmed as it happens | Choosing the exact photo, retrying, and comparing versions |
| Limitation | You cannot choose the source image, and the Lens can be removed | It does not record a live reaction, and it is a still rather than a video |
Neither is better. They produce different content. The mistake is expecting one to do the other’s job — hunting the carousel for a Lens that will transform a picture from your Camera Roll, or trying to capture a genuine live reaction with a saved-photo tool.
Want to use an existing portrait instead?
That is the second column of the table above, and it starts from a different place. Snapchat’s Camera Roll instructions explain how to find a saved photo through Memories and send it. Sending a Camera Roll image does not prove that every live Lens can reprocess any saved image. The Lens may require a live camera face, a supported video, or a different input.
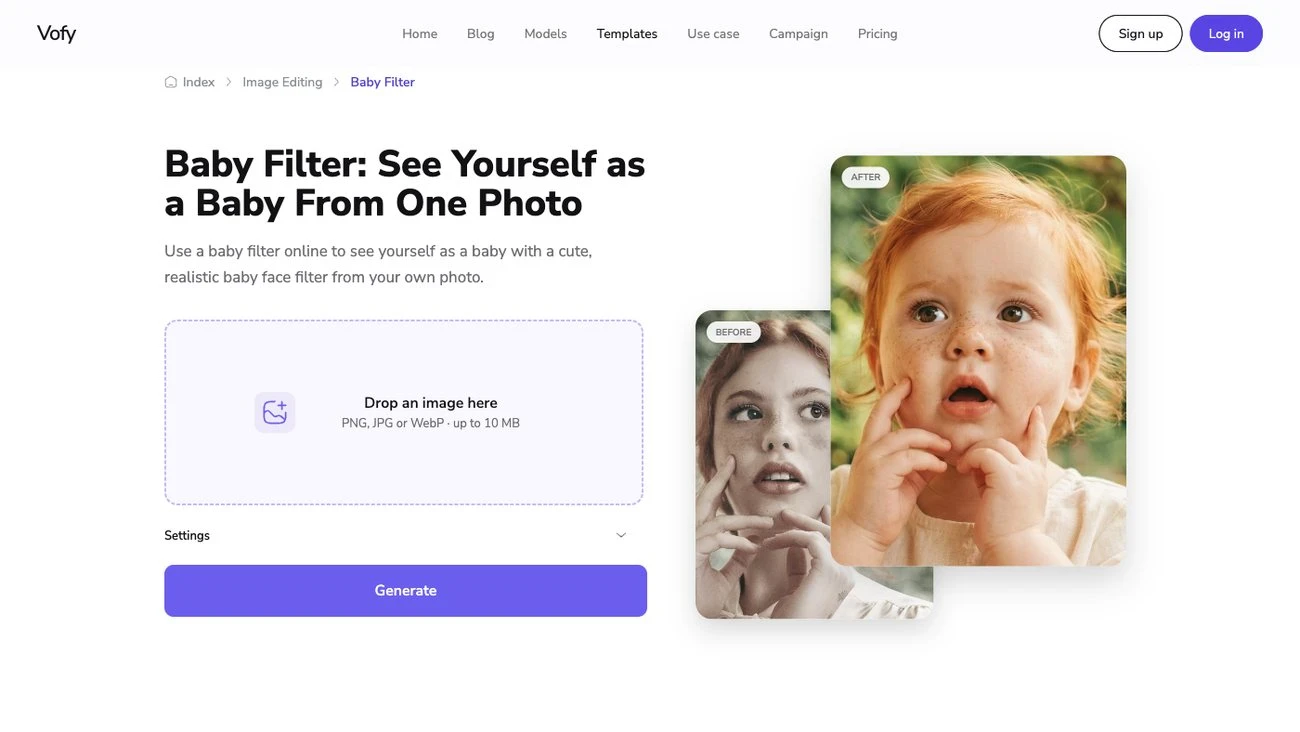
If your goal is a controlled age-down image from a portrait you already own, use Baby Filter and then share the finished image to Snapchat. That produces an editable still; it is not the Snapchat Lens and should not be described as one. For the comparison between the live effect and a saved-photo edit, see Baby Face Filter Snapchat: Lens or Photo Edit?.
If you want to turn that still into a vertical reveal, use Baby Filter TikTok. If the post is primarily a reaction joke, Baby Filter Meme shows how to keep the caption from covering the face.
Why “download the baby filter” pages are not what you want
If you searched for a Snapchat Lens and ended up on a page offering a download, that page is not giving you the Lens. Two things are worth knowing about the pattern.
The Lens runs inside the app and cannot be downloaded as a file. There is no installer. A Lens is applied to the camera inside Snapchat, and any site offering a standalone download of an in-app effect is offering something else — usually an unrelated app, a browser extension, or a file that is not a Snapchat Lens at all.
Third-party pages often rank well because they describe the effect, not because they provide it. A page titled around the effect name can sit above the official Lens page in search simply because it is written for search engines. It can still be a useful explanation of the effect while being a dead end for actually using it.
The reliable route is short: open the official Lens page, scan the Snapcode or let the link hand off to the app, and verify the preview and the author in the camera. If a page asks you to install something before you can use an in-app effect, close it and go back to the official entry point.
And if the Lens genuinely is not available to your account — because it rotated out, because it is region-gated, or because your device does not support that Lens — then no download page resolves it. That is the point at which the saved-photo route becomes the practical answer rather than the fallback.
What makes a saved-photo baby edit look right
If you go the saved-photo route, the source image decides more than any setting.
Front-facing and evenly lit. A face at a strong angle gives the transformation less to preserve, and hard side light creates shadows that get read as facial structure. Soft, even light from the front produces a far more faithful result.
Visible eyes, mouth, and hairline. Those are the cues that keep the result recognisably the same person. Sunglasses, hair across the face, or a hand near the cheek all remove exactly the landmarks the edit depends on.
One face, clearly the subject. For a single-person edit, crop to that person. A wide shot with several faces makes the tool choose for you, and it does not always choose the person the post is about.
No heavy existing filter. If the photo has already been heavily smoothed or colour-graded, the transformation is working on an already-altered face and the result drifts further from the original. Start closer to the raw shot.
Then review before you post. Check the eyes, the cheek shape, the mouth, and the hairline. If the eyes have gone glassy or the cheeks have swallowed the expression, reduce the intensity and try again rather than adding stickers to cover it.
A clear boundary for public posts
Use only photos you own or have permission to edit. If the result is a realistic AI transformation, say so when a viewer could mistake it for an authentic childhood image. Snapchat’s current controls and platform rules can change, so check the app at the time you post.
Two habits are worth keeping regardless of platform policy. Label generated images as generated — the result is a fictional version of a photo, not a photo. And ask before editing someone else, including partners and friends, because a private joke between people who agreed to it is a different thing from a public post.
The shortest reliable path is: open the official Baby Face Lens page, verify the preview and author in the camera, then use Snapchat’s own Lens help when a control or device does not behave as expected. If you need to transform a saved portrait with more control, switch workflows deliberately instead of searching for a Lens that may never support that photo.
Try it yourself on Vofy
Generate AI images and videos with the best models - all in one studio.
Discover More
 Sofia Rodriguez•
Baby Face Filter Snapchat: Lens or Photo Edit?
Choose between Snapchat’s live Baby Face Lens and a saved-photo baby face edit, with a practical route for each goal and no false promise that one tool handles every image.
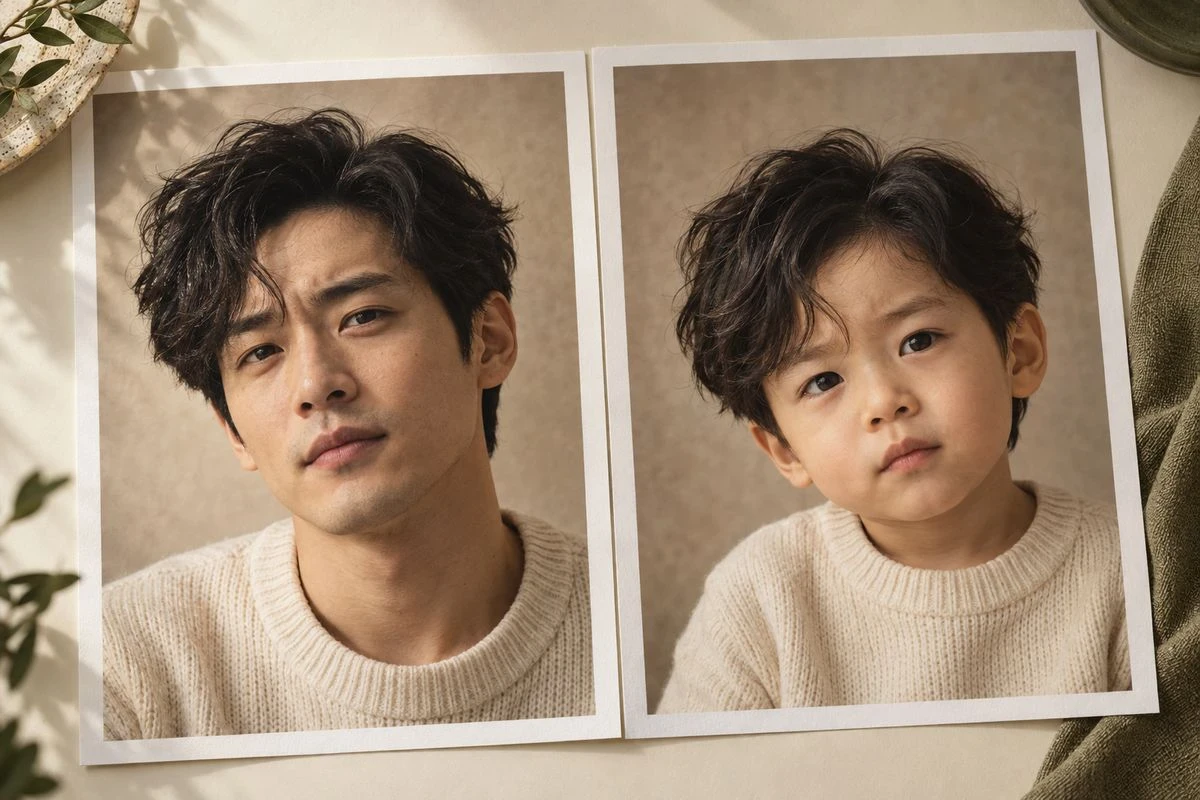 Sofia Rodriguez•
Baby Filter TikTok: Which Effect Are You Looking For?
Sort the different baby filter TikTok searches, then turn a permitted portrait into a readable before-and-after post without pretending an AI edit is a real childhood photo.
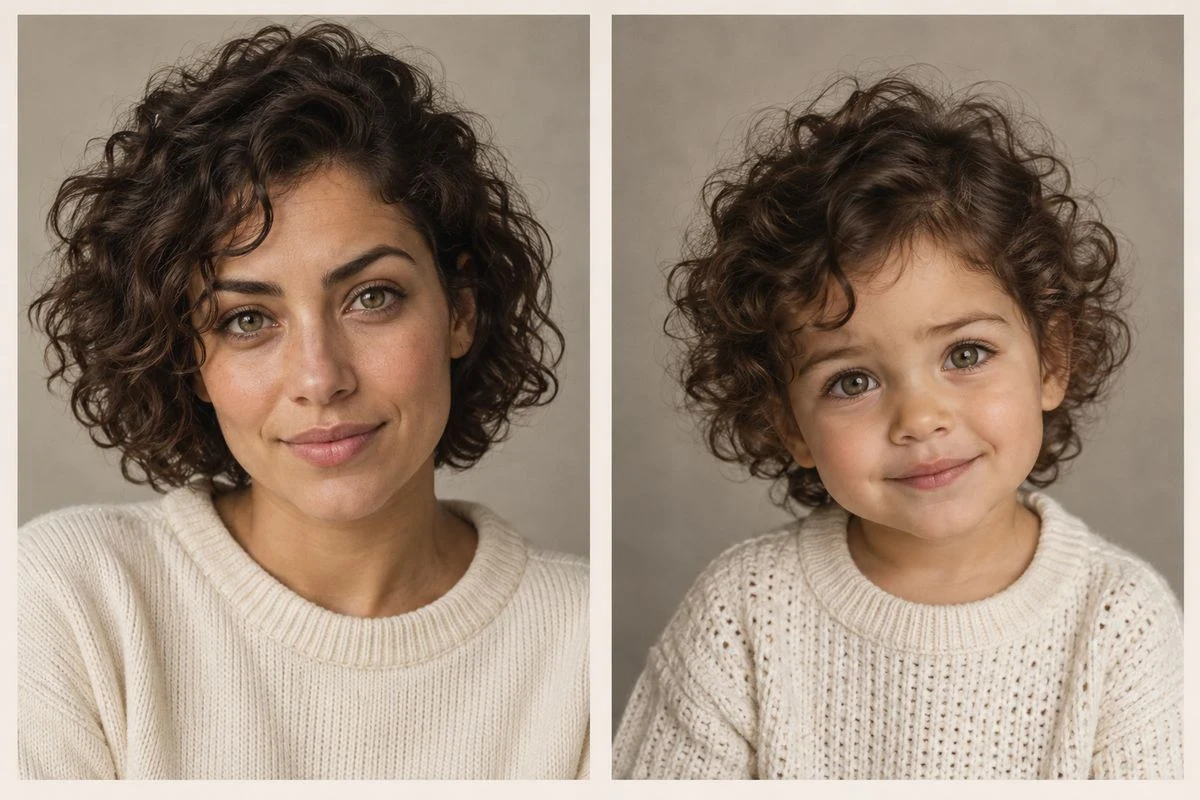 Sofia Rodriguez•
What Would I Look Like as a Baby? AI Generator Guide
A practical guide to making a baby face filter from one portrait, choosing a source photo, judging identity drift, and fixing an edit that looks like a random child.