How to Retouch Portraits with AI - Natural Results
Learn how to retouch portraits with AI while preserving skin texture, facial identity, and natural light in a practical Vofy workflow.

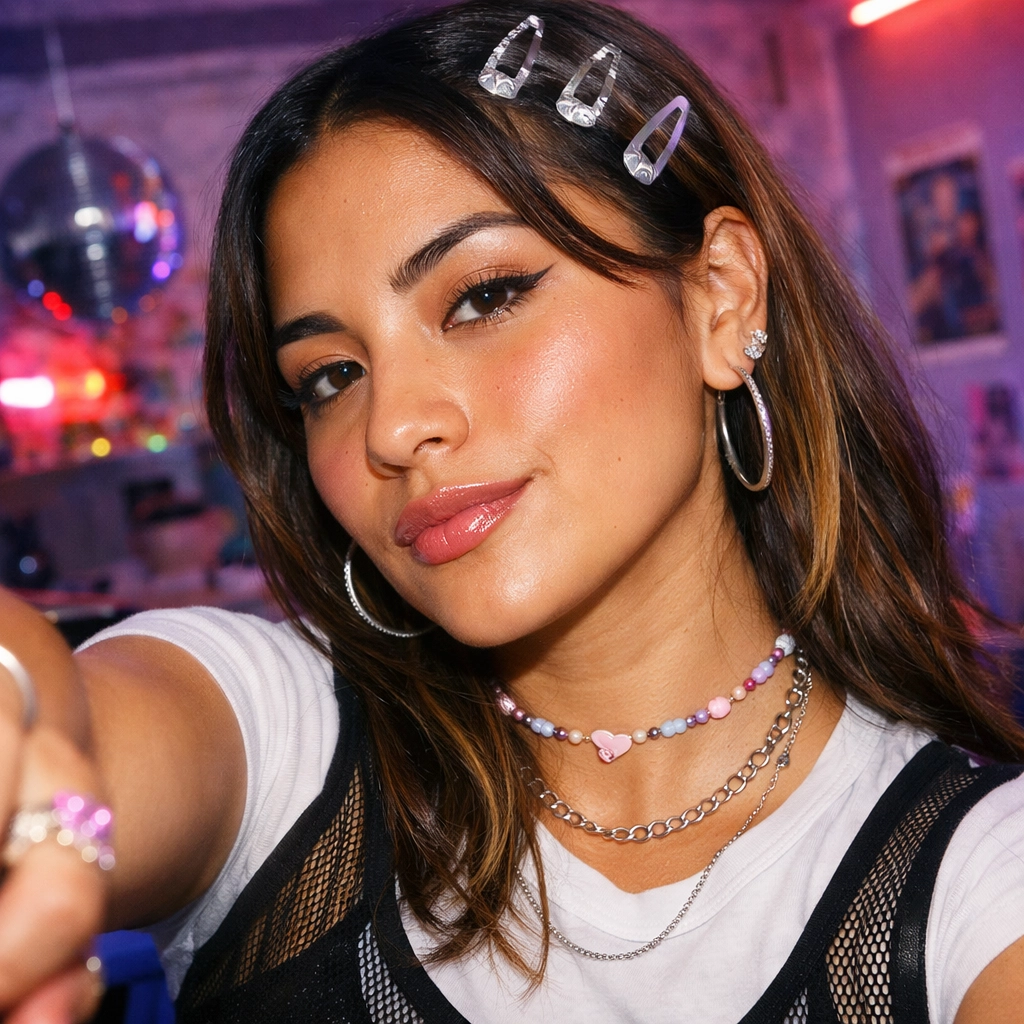
Disclosure: This tutorial uses Vofy, an all-in-one AI creative studio, as the demonstration tool. The workflow reflects the Retouch Portraits app as available in July 2026, and interface details may evolve.
A polished portrait should still look like the person in the original photo. The goal is to reduce temporary distractions, balance the image, and preserve recognizable features and skin texture. Vofy's Retouch Portraits app provides a short workflow for selfies, headshots, and creator photos without requiring a manual editing stack.
The important decisions still belong to you: choose a usable source, set a restrained goal, and reject results that alter identity or flatten natural light. This guide covers that process from upload to final review.
TL;DR
- Start with a sharp, unfiltered original where the face is clearly visible.
- Remove temporary distractions while preserving identity, skin texture, facial proportions, and light.
- Compare source and result at full-frame and close-up scale before downloading.
Generation is quick; quality depends on the review.
1. What You'll Get from AI Portrait Retouching
AI portrait retouching reduces distractions and balances a portrait while aiming to preserve identity, texture, proportions, and original lighting. It works best when the photo is already recognizable and well composed but needs a cleaner finish for a profile, portfolio, speaker bio, or social post.
Retouching cannot reliably recover detail the camera never captured. Choose another frame if the eyes are out of focus or the face is partly hidden. For texture-focused skin editing, see the AI skin enhancer and portrait retouching guide; this workflow reviews the entire portrait, including hair, clothing, light, and edges.
2. Before You Start: Choose a Source That Can Hold Up
Use the highest-quality original available, not a screenshot or messaging-app copy. Look for sharp eyes, readable hair, visible facial edges, and balanced exposure. Adobe's guide to image size and resolution explains why source dimensions affect close-up quality.
Before uploading, check the photo against a short source-quality list:
- The face is in focus at normal viewing size.
- No hand, glare, or deep shadow hides an important feature.
- The skin is not already blurred by a beauty filter.
- The file is the least-compressed version available.
- The crop leaves room for the final placement.
When crucial detail is absent, a different photo is usually more reliable than a stronger edit. Use only photos you own or have permission to edit, and do not create misleading impersonation. For news or documentary work, follow stricter standards such as the NPPA Code of Ethics. Keep the original for comparison.
3. How to Retouch a Portrait with Vofy in 3 Steps
The workflow is upload, choose a finish, then generate and review. Interface labels may evolve, but the decisions remain the same.
3.1 Upload Your Portrait
Open the Retouch Portraits app and upload a clear single-person portrait. Check the orientation, crop, and preview before generating. If the preview is soft or contains screenshot borders, return to the original file.
3.2 Confirm the Portrait and Output Goal
Choose a concrete goal such as a natural cleanup, polished headshot, or balanced profile photo. Temporary blemishes and uneven shine are different from freckles, moles, scars, smile lines, face shape, or skin tone. Decide which details should remain before generating.
3.3 Generate, Compare, and Download
Compare the result with the source at full-frame size, then zoom in on eyes, teeth, hairlines, jewelry, and facial edges. Confirm that the person still looks like themselves and that light remains consistent across the face, neck, hair, and clothing.
Regenerate if identity changes, texture disappears, or edges look inconsistent. Download only after the portrait passes both viewing scales, then preview the exported file in its final destination.
4. Review the Result in a Fixed Order
Use the same review sequence every time:
- Identity and expression: facial proportions and expression still match the source.
- Texture and color: skin retains detail and matches the neck and hands.
- Eyes, teeth, hair, and edges: no invented highlights, halos, or softened boundaries.
- Final placement: the crop, sharpness, and color work in the profile, page, or post where the image will appear.
This order makes feedback specific and helps a portrait series maintain a consistent finish without making every person look the same.
5. Common Portrait Retouching Mistakes to Avoid
Most weak results come from poor source quality or excessive editing.
| Mistake | What It Looks Like | Better Decision |
|---|---|---|
| Smoothing every visible mark | Plastic skin with little tonal variation | Preserve pores and stable features; reduce temporary distractions selectively |
| Reviewing the output by itself | Identity drift goes unnoticed | Compare source and result at the same crop and scale |
| Starting from a filtered image | Waxy texture or doubled corrections | Return to the least-processed original |
| Publishing without a destination test | Awkward crop or color shift | Preview the export in the final layout |
More processing does not guarantee a more credible portrait. Return to the original instead of stacking corrections on a weak result.
6. Conclusion
A useful retouch removes distractions without replacing the person. Start with a strong source, choose a restrained goal, and compare the result with the original at two viewing scales. If you cannot explain a visible change, regenerate or choose a better source.
FAQ
Can AI retouch a portrait without making skin look fake?
Yes, when the source has real texture and the edit stays restrained. Check pores, facial edges, and the match between face and neck.
What is the best photo to upload for portrait retouching?
Choose the highest-resolution original with sharp eyes, readable hair, balanced exposure, and no previous beauty filter.
Can I use Retouch Portraits for professional headshots?
Yes. Keep skin tone, facial structure, expression, and clothing faithful to the source. For composition guidance, see the selfie-to-LinkedIn-headshot guide.
Should I remove freckles, scars, or smile lines?
Do not assume they are defects. Ask the subject or client before changing stable, identity-linked details.
Can portrait retouching fix an out-of-focus face?
Not reliably. Select a sharper frame or use a dedicated restoration workflow before cosmetic editing.
Can I edit someone else's portrait?
Only with permission. Do not use a retouched portrait to impersonate or mislead, and get approval before publishing client or employee photos.
Related Reading
Try it yourself on Vofy
Generate AI images and videos with the best models - all in one studio.
Discover More

 Priya Sharma•
AI Skin Enhancer: One-Click Portrait Retouching in 2026
Transform portraits with AI skin enhancement in one click. Choose Soft, Realistic, or Imperfect styles for professional retouching without Photoshop. Perfect for photographers, content creators, and social media.
 Sofia Rodriguez•
How to Create a Professional LinkedIn Headshot With AI
Transform selfies into professional LinkedIn headshots instantly with our free AI generator. Get polished, studio-quality profile photos in 2 minutes—perfect for job seekers, founders, and remote workers.
 Priya Sharma•
Free AI Eye Color Changer: Transform Your Look Instantly
Free AI eye color changer—try ice blue, emerald green, warm hazel, silver gray, honey brown, violet, or dramatic black eyes instantly. Change brown eyes to blue in seconds, no contacts needed.