How to Remove a Background from an Image Online
Remove a background from an image online and create a reusable transparent cutout with practical source-photo, edge-checking, and export tips.


Disclosure: This tutorial uses Vofy, an all-in-one AI creative studio, as the demonstration tool. The workflow reflects Remove Background as available in July 2026, and the interface may change.
The Remove Background turns one product, portrait, pet, object, or logo photo into a subject-first transparent cutout. The useful result is not simply an image with a white area behind it. It is an asset with a real transparent background, readable edges, preserved internal openings, and enough subject detail to place into a listing, thumbnail, banner, sticker sheet, or design composition.
That distinction determines the whole workflow. A clean cutout depends on what the editor can see around hair, fur, glass, straps, handles, and packaging corners, so source selection matters as much as generation. This guide shows how to choose the right preset, inspect difficult contours, and decide when background removal is the wrong operation.
TL;DR
- Upload one sharp image with a clear main subject and visible space around its outer edges.
- Choose Product Cutout, Portrait PNG, Hair Detail, Pet Cutout, or Logo / Graphic according to the hardest contour in the photo.
- Generate a transparent-background result, then inspect halos, clipped edges, internal holes, glass, hair, fur, and subject-owned shadows.
- Test the cutout over both light and dark colors before downloading it for ecommerce, social, or design work.
- Use a background changer instead when you need a finished office, cafe, studio, or product scene rather than a transparent asset.
These steps keep the job focused: isolate the existing subject first, then decide where it belongs. Trying to remove the old scene and invent a detailed new one in the same pass creates a different editing task.
1. What You'll Get from an AI Background Remover
An AI background remover separates the main subject from its original scene and returns a reusable transparent cutout. It is designed for product PNG-style assets, portrait overlays, pet stickers, logos, and objects that need to sit on different layouts without carrying the old wall, room, table, or landscape with them.
Background removal, cutout creation, and image matting describe related parts of the same job. Removal is the separation process; the cutout is the subject-only result; and matting is the fine edge treatment that helps curls, whiskers, glass rims, fabric fibers, or semi-transparent details blend into a new layout. The output should therefore be judged on edge usability, not on whether the empty area looks attractive in the preview.
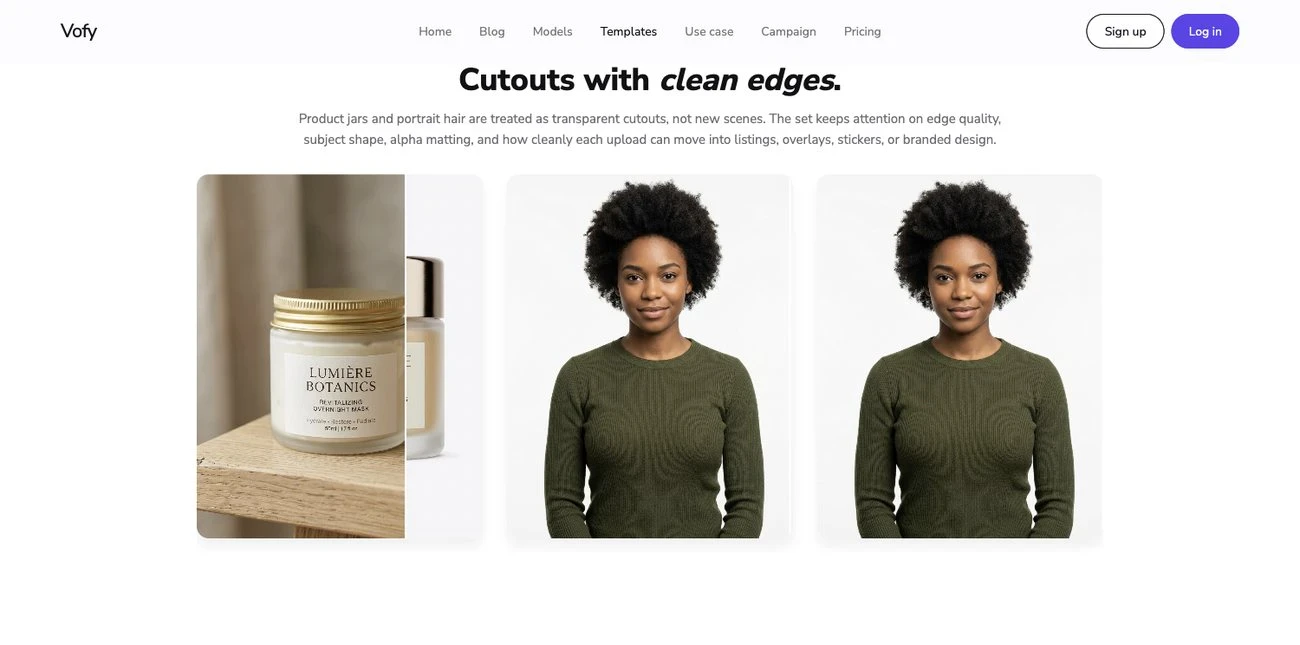
The example below shows the intended product workflow. The original environment is discarded while the jar shape, label, lid, internal gaps, and surface detail remain available for reuse.

Transparency also affects file choice. The W3C PNG specification defines alpha-channel transparency, while MDN's image-format guide explains why PNG remains a common option for lossless graphics with transparent regions. If the destination platform converts every upload to JPEG, it may flatten the transparent area into a solid color, so check the final channel before building an entire asset set.
2. Before You Start: Pick a Source That Can Be Cut Out
Choose a sharp image with one obvious subject, visible contrast, and space around the full outline. Avoid tight crops, collages, and overlapping objects; details such as hair, glass, straps, and packaging corners are easier to preserve when their edges are clearly visible.
Decide where the cutout will be used. Product listings need clean geometry, presenter overlays need intact hair and shoulders, and stickers or logos need crisp, readable edges. The destination sets a practical quality standard.
Use only images you own or have permission to edit. Respect portrait consent and do not reuse isolated people, logos, artwork, or branded assets in a misleading context.
3. How to Remove a Background with Vofy in 3 Steps
The current app accepts one image and provides task-specific preset directions. You do not need to write a long removal prompt from scratch, but you do need to match the preset to the subject's most difficult edge and review the generated file before using it publicly.
3.1 Upload one clear subject photo
Open Remove Background and upload a JPEG, PNG, or WebP image containing one main product, person, pet, object, logo, badge, or graphic. Inspect the source at full size first. Compression noise, blur, clipped hair, and hidden corners will not become reliable details simply because the background is removed.
For products, keep the complete outline visible and make sure handles, straps, chains, and openings can be distinguished from the scene. For portraits and pets, choose a sharp frame with readable hair, fur, ears, clothing, and shoulders. For logos photographed on signs or mockups, use a straight view when possible so the mark is not distorted before extraction begins.
3.2 Match the preset to the hardest edge
The available presets represent different cutout priorities:
- Product Cutout emphasizes packaging geometry, hard edges, and ecommerce reuse.
- Portrait PNG prioritizes identity, face shape, clothing contours, and overlay-friendly framing.
- Hair Detail spends more attention on flyaways, curls, fur, and soft edge cleanup.
- Pet Cutout protects facial markings, whiskers, ear shapes, and the fur silhouette.
- Logo / Graphic focuses on preserving a flat mark, badge, or photographed graphic cleanly.
Choose by contour rather than label. A model wearing a feathered jacket may benefit more from Hair Detail than Portrait PNG, while a watch with a fine metal bracelet may need the same care as a jewelry cutout. The preset guides the removal pass, but the source still determines how much real edge evidence is available.
3.3 Generate, inspect, and download
Generate the transparent result and compare it with the source at the same scale. First trace the outside silhouette. Then inspect internal openings such as mug handles, chair legs, bent arms, letters, straps, and gaps between hair strands. Finally, check whether any original wall color or surface texture remains as a fringe.
Do not trust a checkerboard preview by itself. Place the result over white, black, and one saturated brand color; a pale halo can disappear on white but become obvious on a dark banner. Zoom back out after the edge check as well, because a technically clean contour can still feel too tight if a natural subject-owned shadow was removed or a soft edge became unnaturally hard.
If the first result clips part of the subject, regenerate from the original with more space around the outline. If a background object is fused to the subject, use a cleaner crop or source photo. Repeatedly editing an already imperfect cutout tends to compound missing detail, so return to the best available original whenever possible.
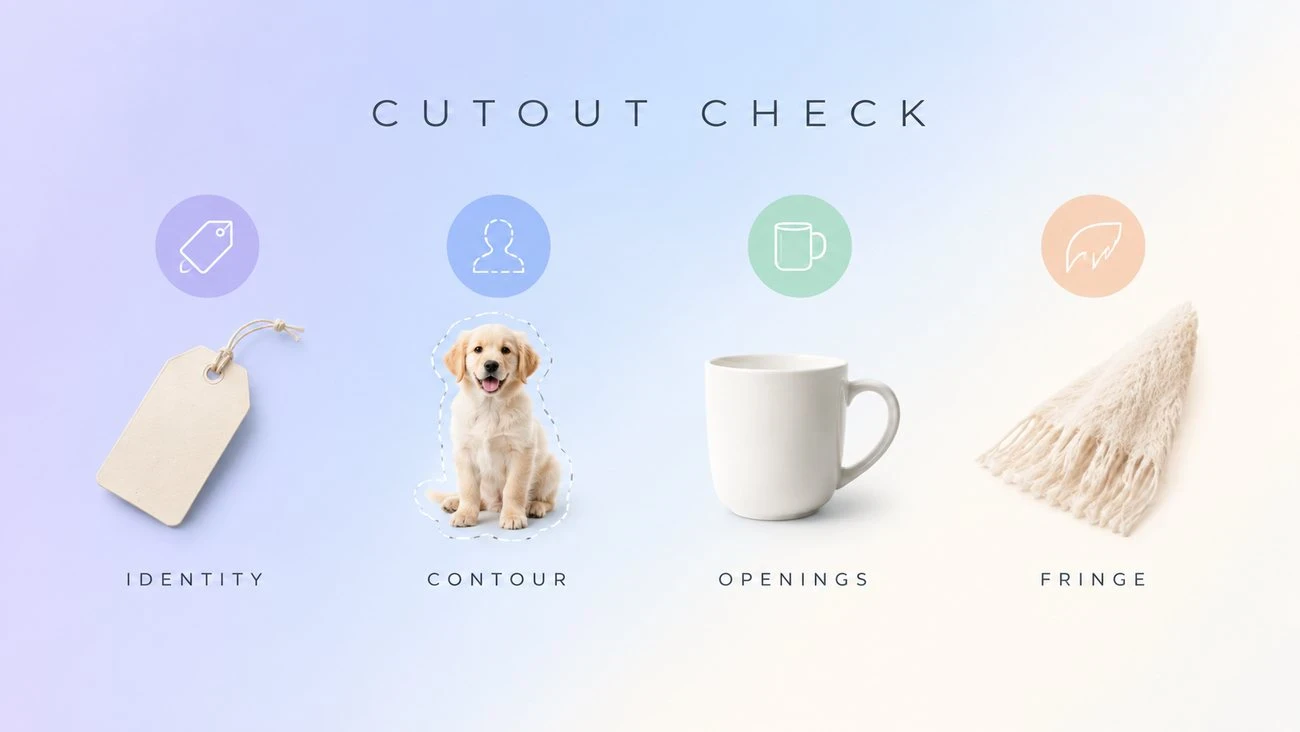
4. Use a Five-Part Cutout Quality Check
A transparent file is finished only when it works outside the editor. Review these five areas in order, because each catches a different failure mode:
- Identity and geometry: Confirm that faces, logos, labels, proportions, and product shapes still match the source.
- Outer contour: Look for clipped hair, fur, fingers, shoe edges, corners, chains, and thin accessories.
- Internal spaces: Check holes in handles, bent arms, chair frames, lettering, and gaps between separate parts.
- Semi-transparent detail: Inspect glass, veils, smoke-like materials, reflections, and soft fabric edges on contrasting backgrounds.
- Residual scene color: Search for white, gray, green, or wall-colored halos that belonged to the old background.
This sequence prevents a common mistake: approving a cutout because its broad silhouette looks correct while missing a damaged label or a filled-in handle. It also helps diagnose whether another generation can help. Global halos often point to a difficult source boundary, while one missing corner may be solved by uploading a less tightly cropped original.
For footage or stills that already use a flat green backdrop, the AI green screen remover guide covers a more specialized separation workflow. If the actual goal is to eliminate a hue from the artwork rather than isolate its subject, removing color from an image is a different operation and should not be treated as background removal.
5. Common Background Removal Mistakes
Three mistakes cause most background-removal failures:
- Choosing the wrong workflow: Use removal for reusable cutouts. Use background replacement when the final image already needs a complete cafe, office, outdoor, or studio scene.
- Starting with a weak source: Blur, low resolution, overlapping objects, reflective surfaces, and poor edge contrast make clean separation harder. A sharper source usually helps more than repeated generation.
- Mistaking white for transparent: Test the downloaded file over light, dark, and brand colors in a tool that preserves alpha.
For a different edge-led transformation, see how to turn a photo into a line drawing.
6. Conclusion
Removing a background well is a preservation task. Start with one readable subject, choose the preset around the hardest contour, and review the output on more than one background before treating it as reusable. Product corners, hair, fur, glass, internal holes, and subject-owned shadows deserve more attention than the empty checkerboard around them.
The practical warning is simple: do not download the first result just because the old scene is gone. A cutout earns its value when it can move into the next listing, overlay, sticker, banner, or design without exposing halos, clipped details, or a changed subject.
FAQ
Does Remove Background create a transparent file?
The current Vofy workflow is configured for a fully transparent background rather than a replacement scene. Check the downloaded file in an app that displays alpha transparency, because some publishing platforms may flatten transparent uploads onto a solid color.
Which preset should I use for hair or fur?
Use Hair Detail when fine curls, flyaways, fur, feathers, or soft contours are the hardest part of the image. Pet Cutout is useful when preserving the animal's face, markings, ears, whiskers, and overall silhouette is the main priority.
Can I remove the background from a product photo?
Yes. Product Cutout is intended for ecommerce and design assets that need stable packaging geometry and clean hard edges. Inspect labels, transparent materials, handles, chains, and product-owned shadows before publishing the result.
Why does my cutout have a white or colored halo?
A halo usually comes from edge pixels that blended with the old scene. Test the cutout over light and dark colors, then regenerate from a sharper source with stronger separation or more room around the subject.
Should I remove or change the photo background?
Remove it when you need a reusable subject-only asset. Change it when you need a finished image with a new office, cafe, studio, lifestyle, or product scene and matched lighting, depth, shadows, and reflections.
Can I use someone else's portrait?
Use only photos you own or have permission to edit, and keep reuse within the subject's agreed context. A transparent portrait should not be placed into a misleading composition or used to imply an event, endorsement, or relationship that did not occur.
Related Reading
Try it yourself on Vofy
Generate AI images and videos with the best models - all in one studio.
Discover More

 Emma Clarke•
How to Remove Green Screen Backgrounds in Seconds (2026 Guide)
Remove green screen backgrounds instantly with AI. Perfect for content creators, video editors, YouTubers, and marketers who need clean background removal without complex editing software.

 Ryan Mitchell•
How to Remove Color From Image: Complete Guide (2026)
Remove color from image files instantly with AI. Convert photos to black and white, create monochrome designs, and desaturate images for professional results without Photoshop.

 Alex Harper•
Transform Any Photo into Stunning Line Art in Seconds (Free AI Tool)
Turn photos into professional line drawings instantly—perfect for coloring books, tattoo stencils, and print-on-demand products. No design skills needed, just upload and download.